

It’s safe to say everyone’s talking about gua sha benefits right now. This ancient massage technique, which traditionally uses a flat stone tool, is renowned for its ability to improve circulation, promote lymphatic drainage, ease tension and reduce inflammation in both the face and body. It’s little wonder then, that gua sha has become a staple in modern skincare rituals, with celebrities, influencers and beauty obsessives across the globe incorporating this skincare tool into their daily routines.
But what exactly is gua sha? How does it work? And is it possible to use gua sha for glowing skin?
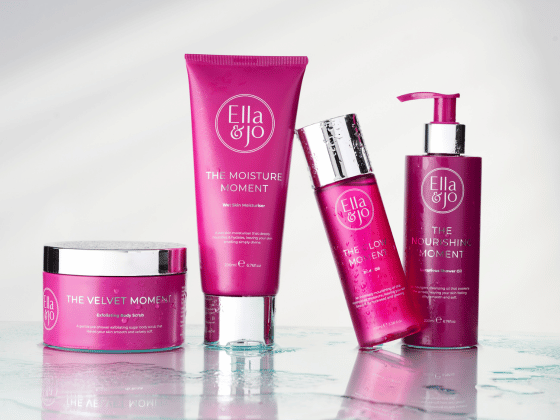
Read on to discover everything you need to know about the benefits of gua sha for skin, plus practical tips on how to use gua sha for glowing skin at home with Ella & Jo.
What is Gua Sha?
“Gua sha” comes from Chinese and translates to “scraping away sand”, referring to the technique’s action of scraping the skin.
Rooted in traditional Chinese medicine, this practice involves using a natural jade or rose quartz stone to gently scrape the skin to stimulate blood flow, release muscle tension and pain, and improve lymphatic drainage in the body to boost overall wellbeing.
Today, gua sha is recognised for its face massage benefits. When used along the facial contours, it can reduce puffiness, lift and sculpt cheekbones, and reduce facial tension, leaving the skin glowing and radiant. Best of all, it takes no more than ten minutes, with visible results after just one session - it’s little wonder that so many have adopted gua sha benefits as part of their everyday skincare ritual.
Interested in giving it a go? Let’s explore how it works and what it can do for you.

How does Gua Sha work?
A gua sha ritual works by gently gliding a smooth-edged tool across the skin in repeated upwards and outwards movements from the centre of the face. The technique follows specific pathways that align with key lymphatic touchpoints to maximise results.
The pressure of this massage encourages lymphatic flow, helping to reduce water retention and detoxify skin naturally. This results in an instant “depuffing” effect that leaves facial contours and cheekbones looking lifted and defined.
These gua sha motions also boost microcirculation, increasing oxygen and nutrient delivery to the skin, which creates a natural glow from the inside out.
Many also find that the gentle ritual eases facial tension and reduces tightness in areas like the jaw and forehead.
Benefits of Gua Sha for Face and Neck
We’ve touched on some of the positives that come with Gua Sha’s facial massage techniques, but here’s a more detailed breakdown of what you can expect when you incorporate gua sha into your skincare ritual:
Reduced puffiness: A late night, too much salty food, a couple of glasses of wine… many lifestyle choices can increase water retention in the face, leading to a puffy, bloated appearance. A quick gua sha session can solve this in an instant! The gentle motions across lymphatic touchpoints encourage fluid drainage, leaving your complexion fresh and refined. Gua sha is particularly effective around the under-eye area – perfect if you’re prone to morning puffiness.
Glowing skin: Gua sha stimulates microcirculation, increasing oxygen and nutrient delivery to the skin. This helps to give your skin an internal boost. The result? A healthier, radiant complexion that glows from within.
Lifted, sculpted facial contours: Regular gua sha use gives a natural lifting effect and helps to define your cheekbones and jawline. Say hello to a more sculpted, contoured appearance in just a few minutes.
Reduced fine lines and wrinkles: Looking for natural anti-aging solutions? Gua sha is your answer! The gentle massage action helps to simulate collagen production, which can plump out fine lines over time. This will also boost skin elasticity with consistent use.
Reduced dark circles: Dark circles can be caused by poor circulation. By boosting blood flow, gua sha can help brighten the under-eye area and reduce the appearance of dark shadows.
Enhanced product absorption: Using gua sha after applying treatment serums or oils can help them penetrate deeper into your skin, maximising the benefits.
Relaxation and stress relief: As well as all the physical benefits, the soothing ritual of gua sha can help to reduce anxiety levels, helping you to feel calmer.
Improved sleep quality: Doing your gua sha routine before bed can help relax the body and mind, preparing you for a peaceful night’s sleep.
How to Use Gua Sha for Face

By now it’s clear that this traditional Chinese skincare method is well worth trying. The gua sha benefits for skin are endless! It’s low-cost, non-invasive, time-efficient and delivers a whole host of benefits for your skin and general wellbeing – what’s not to love?
Let’s get you started on your gua sha journey. Follow our easy step-by-step guide to perfect your at-home gua sha ritual.
Step 1: Prep your skin
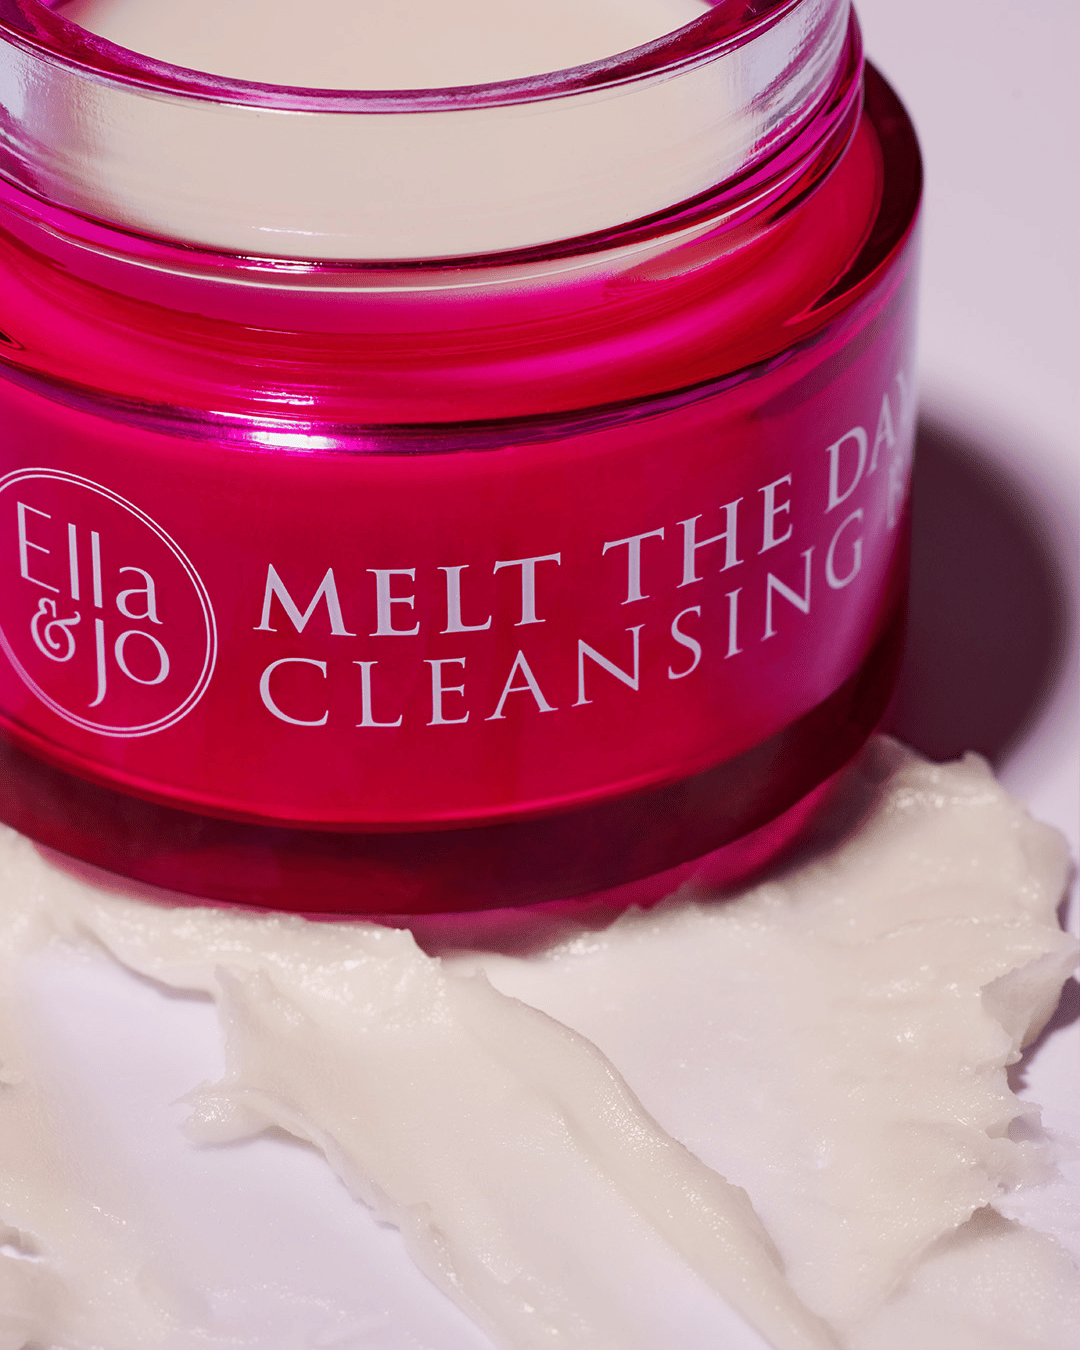
Every effective gua sha routine begins with thoroughly cleansed skin. We recommend double cleansing to make sure that every trace of makeup, debris and sunscreen is removed.
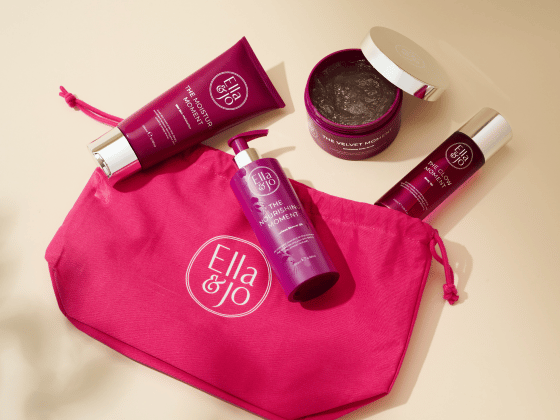
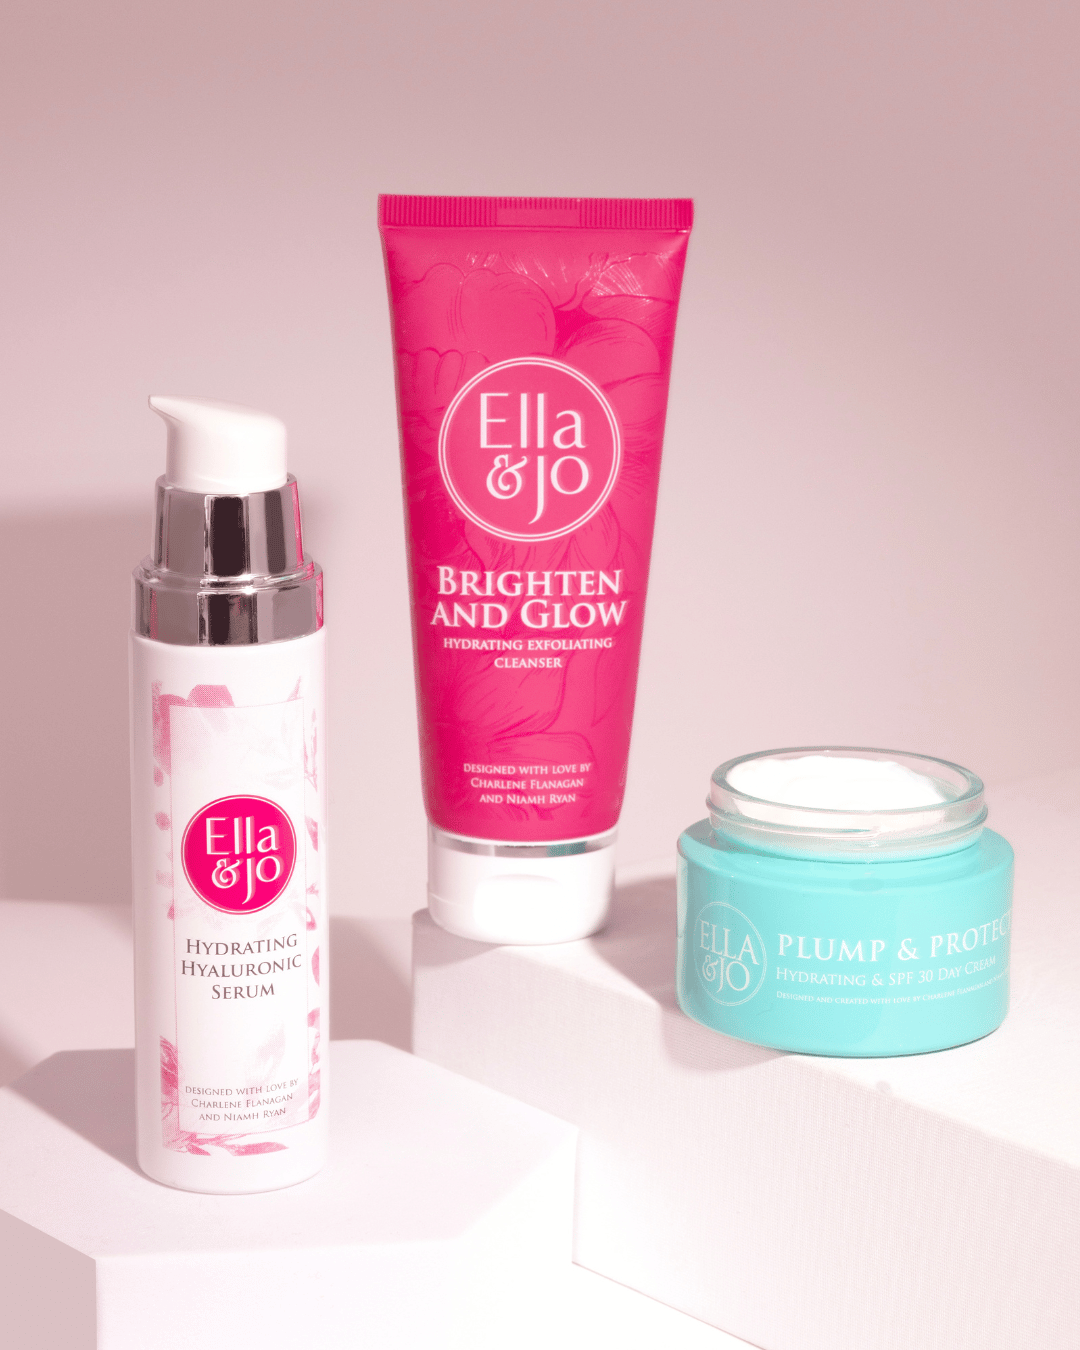
Begin with our Melt The Day Away Cleansing Balm on dry skin; inhale the relaxing aromas as it effortlessly dissolves foundation and even waterproof mascara. Remove with a damp cloth and follow with our Brighten and Glow Exfoliating Cleanser for your second cleanse. Pat your skin dry with a soft towel.
Step 2: Choose the right gua sha tool
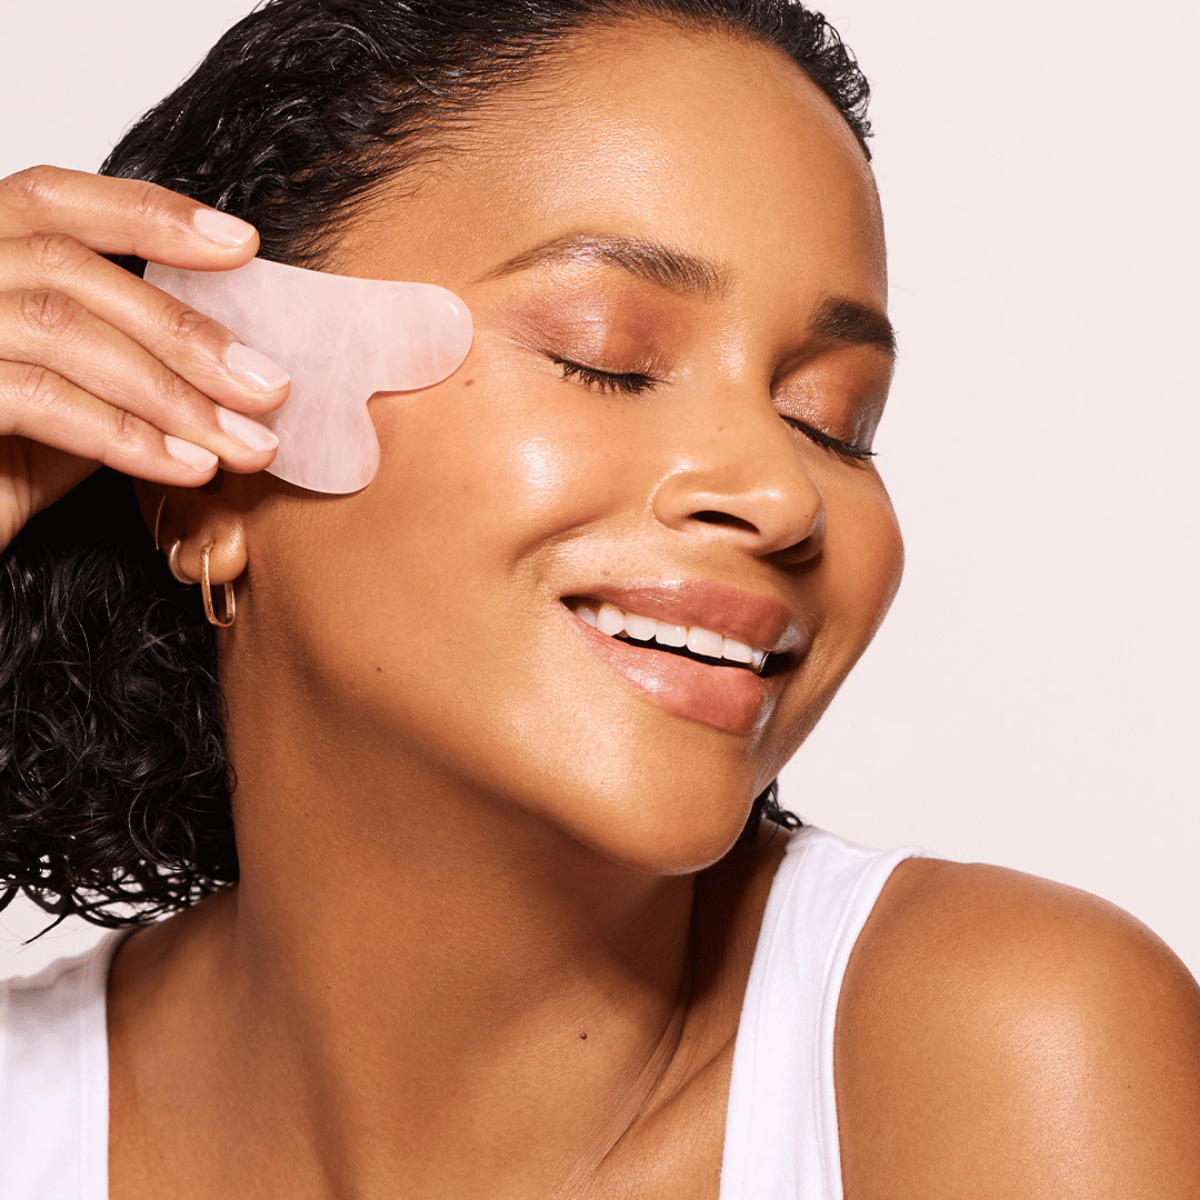
Traditionally, gua sha tools are crafted from natural stones with known healing properties: jade, renowned for its balancing, cooling and circulation-boosting qualities, and rose quartz, which is soothing for sensitive skin.
Here at Ella & Jo, we’re team rose quartz! Our Rose Quartz Gua Sha is delicately shaped like a heart and thoughtfully crafted for maximum massage benefits. Believed to radiate love and peace, this beautiful pink stone is just what you need after a busy day.
Whichever tool you choose, make sure it’s clean before you begin your routine. A couple of spritzes of our Squeaky Clean Brush Cleanser will have it clean, sanitised and ready to go.
Step 3: Apply product
Applying a facial oil provides the slip needed for your gua sha to glide across your skin. Our Nourish & Glow Superfood Oil is perfect for the task.
Step 4: Start with Gentle Strokes
Hold the tool at a 30 to 45 degree angle against your skin. Begin at the base of your neck and move up towards your jawline using slow, firm strokes.
Step 5: Focus on Key Areas
Jawline: Start at the chin and follow your jawline out towards your ear to relieve tension and define your facial contours.
Cheeks: Work from your nose, moving the gua sha along your cheekbones to the ear to lift and sculpt while softening smile lines.
Forehead: Sweep the gua sha from your brow bone to the hairline to lift your brows.
Tip: Repeat each movement five to ten times for each area. Strokes should be smooth with light to medium pressure.
Your skin may look a little rosy and red after your gua sha session (this is normal!), but it shouldn’t be bruised or sore.
Step 6: Clean your tool
End your ritual by washing your gua sha with soapy warm water. Dry it thoroughly so it’s ready for your next session.
Mistakes to avoid
-
Applying too much pressure
When it comes to gua sha, less is more. Using harder pressure does not equal better results; in fact, it can lead to bruising and broken capillaries. Make sure to use soft to medium pressure that’s soothing rather than painful.
-
Skipping facial oil
Applying facial oil is essential for helping your gua sha to glide over facial contours. Without it, the tool can pull on the skin, causing irritation.
-
Rushing the ritual
Gua sha is most effective when done with slow, steady movements. Don’t be tempted to rush through the routine; the aim is to relax your body and mind.
-
Using gua sha on irritated skin
Avoid using gua sha on acne, irritated skin or broken skin as this could worsen the condition.
So there you have it, your foolproof guide to everything gua sha.
Ready to transform your skincare routine and see the face massage benefits? Discover our Gua Sha Ritual kit and nourishing skincare essentials at Ella & Jo to get started!